The under-eye area is a key factor in how we appear rested and regenerated. Concealer is one of the most used products in any makeup kit. We’ve all struggled with creasing or caking.
What can you do when concealer doesn’t stick or dark circles become difficult to hide? It’s possible that your problems are due to the way you set your hard work. We asked makeup artist Tim Quinn for his top tips and tricks on how to set concealer under the eyes, then tried them. Keep reading for your best under-eye concealer ever.
Hydration Is Key
Ashley Rebecca / Byrdie
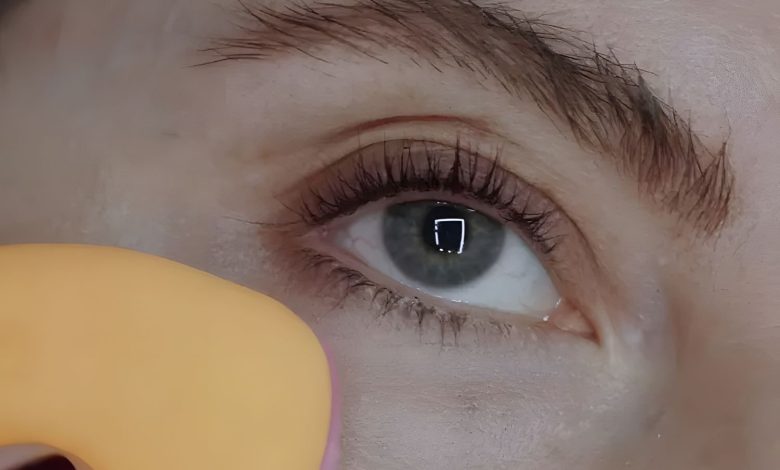
Quinn says that you should not skip this step before applying concealer. He says that hydration is important when applying concealer or makeup in general. “I massage the eye area with hydrating products before concealer application.”
Proteger’s Dermal serum was applied to my face and around my eyes. The thin consistency of the serum and its inclusion of hyaluronic acids hydrates under-eye skin without leaving a greasy finish. Ilia Bright Start Retinol Alternative Brightening Eye Creme was applied under the eyes after the serum dried. I massaged it in until it was absorbed. Because I have deeper circles, a product that brightens right from the beginning is perfect for me.
Allow your products to dry and absorb before you move on to the next stage. This is because the skin around the eyes tends to be thinner. What’s another tip you should remember? You should also be gentle when you massage and prepare the skin around the eyes.
Find the right formula
Ashley Rebecca / Byrdie
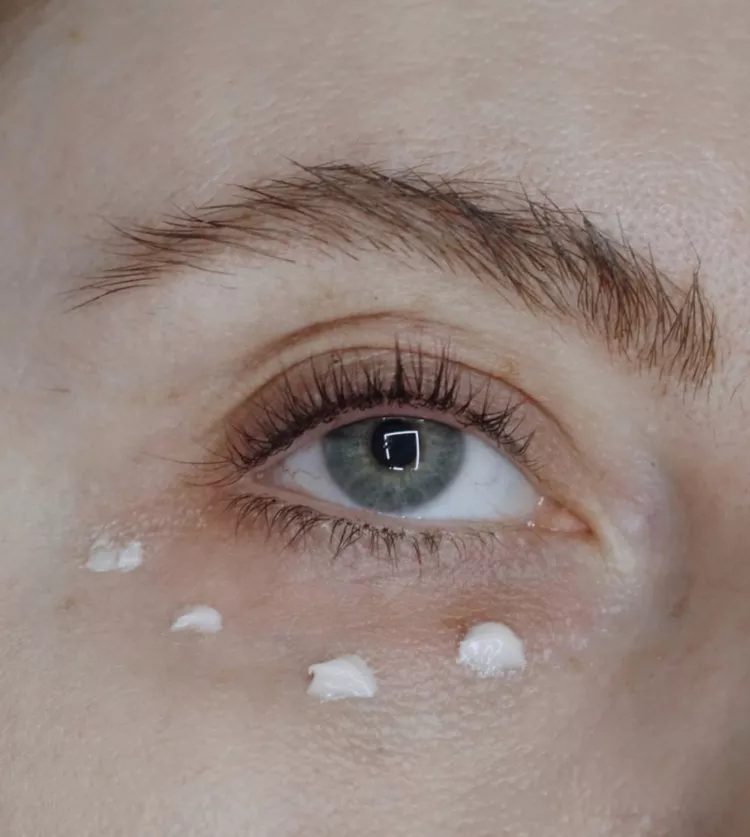
It’s important to choose the formula that works best for you. Concealers are available in different formulations and levels of coverage. Test a few formulas before you commit to one. You can then see if it suits your needs and get an idea about the consistency, coverage, and price. Check out our favorite concealers for under the eyes here.
I prefer concealers that I can layer and look natural. I also choose concealers I can blend and continue to use without leaving a heavy residue. Here I used Armani’s Luminous Silk Face & Under-Eye concealer.
Layering the Application
Ashley Rebecca / Byrdie
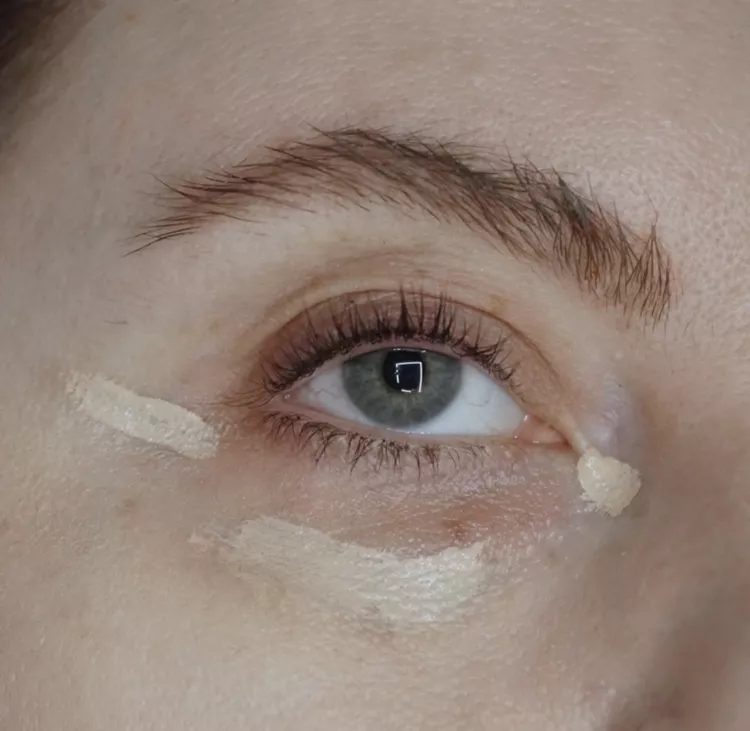
Quinn says that concealing is best done with a minimal amount of product. She starts by covering the dark areas in the inner corners and then moves to the outer edge. I will use a concealer sponge or my fingers to blend and smooth out the product after applying it with a concealer. Quinn instructed me to blend with Anisa’s Angled Contour Brush, starting at the inner corners of my eyes and working outward.
For those with mature skin, you may want to add more moisture during this step. When it comes to mature, I’ll take the same approach but add a few drops of Halo42 Anti Aging Eye Oil to concealer. This will keep the skin dewy and give it that “lit-from-within” look.
Quinn says that you should always keep an eye oil bottle in your bag, whether or not you have mature skin. If your eye area begins to crease, apply a small drop with your ring-finger and gently tap the area. This will brighten and refresh the area without the need to add more concealer or powder.
Tip
Color correctors should be lightly pressed onto the skin before concealer is applied.
The Power of the Right powder
Ashley Rebecca / Byrdie
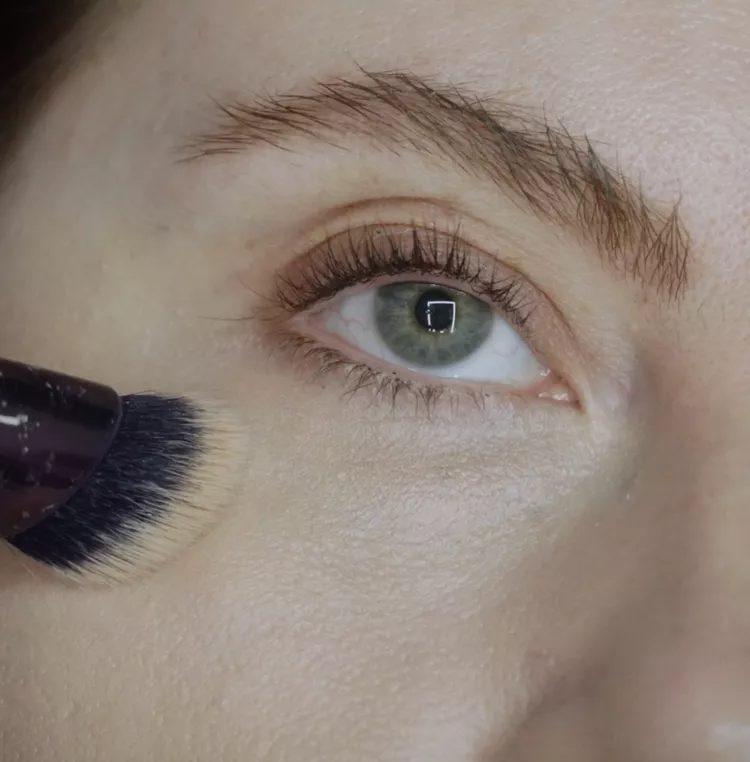
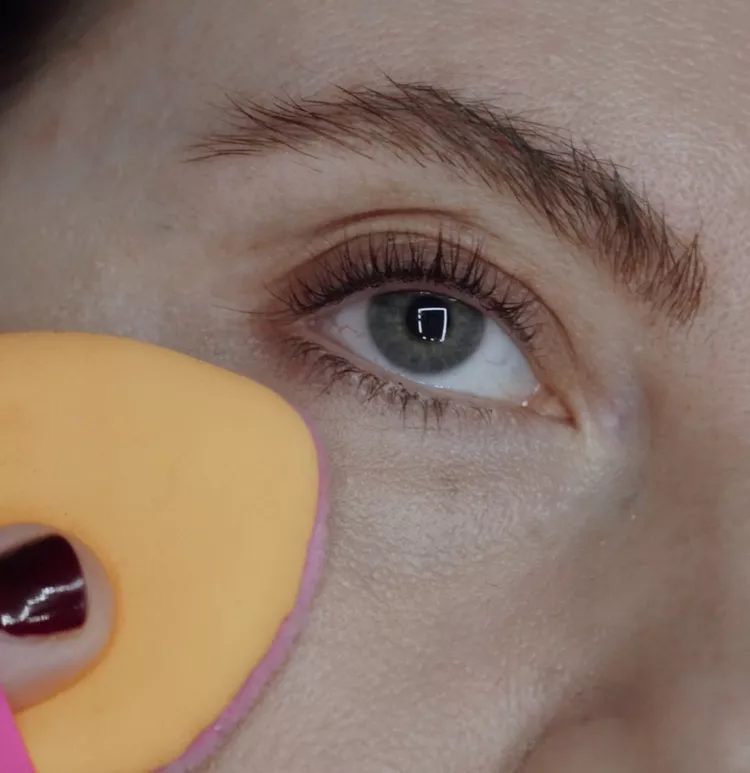
Powders, whether translucent or pressed, are great for mattifying and setting makeup without making it look heavy. Quinn says she uses powder to finish concealing. “I use a translucent formula or pressed formula, and a velvet puff gently roll and press over the area where I have applied concealer.” This method removes any excess concealer and makeup for a flawless finish.
Here I used Charlotte Tilbury’s Airbrush Flawless Finish setting powder in Natural, Quinn’s favourite. Quinn recommends using a translucent loose powder. He suggests lightly dusting it under the eyelids and blending with a fanbrush.
Real Techniques Miracle 2-in-1 dual-sided puff was used to blend out the powder. I lightly pressed it under my eyes and worked through any creasing. The finish and texture of this compact are thin enough to be used for touch-ups.
Spray Set
Ashley Rebecca / Byrdie
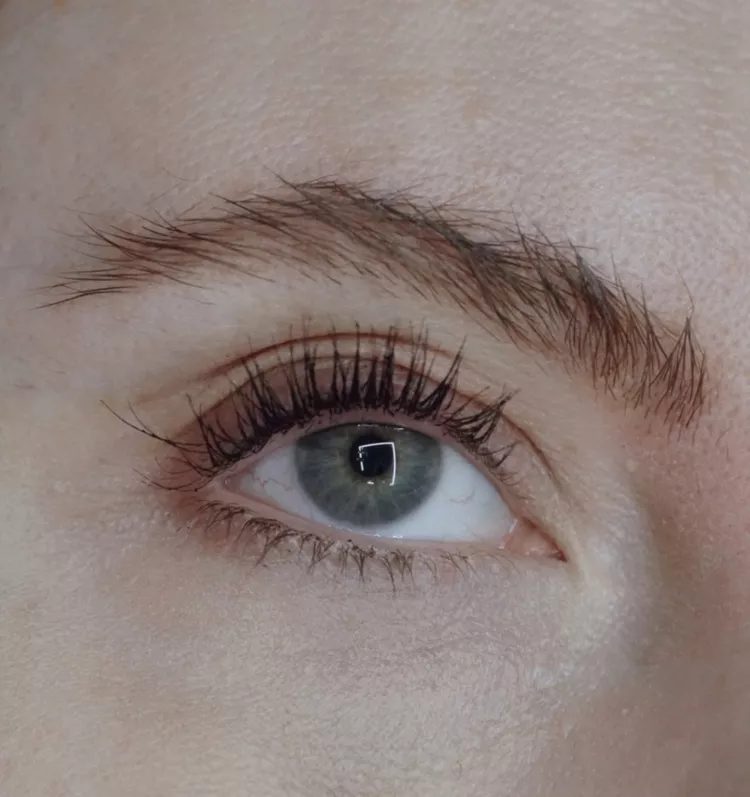
This is the last step of this tutorial. Setting spray works wonders. After you’ve finished your look and concealed as much as possible, use a setting spray to help prevent your makeup from smudging. Check out our favorite waterproof sprays for even more makeup protection.
Hold a setting mist like MAC Cosmetics Fix+ Stay-Over Alcohol-Free 16HR Settings Spray 6-8 inches from your face, and spray liberally on the entire area.